


How to find hidden keyframes in AE
To display your hidden keyframes first try to press the hotkey ‘U’ to see keyframes that may be controlling the motion.
You have some movement in your comp. Maybe a shape layer slides in or text flips down and you want to change the timing.
First try to press the hotkey ‘U’ (with your layer selected) to see keyframes that may be controlling the motion. Nothing there? No keyframes? Chances are there is a script controlling the movement in your scene.
Scripts are extremely powerful. They can speed up your workflow drastically and achieve animations you simply couldn’t do by hand. AEscripts.com is a great resource to download and educate yourself about scripts.
As a noob, scripts might be out of your comfort zone. Let’s look at the most commonly used script, ‘Wiggle’, to identify if one is being used in your scene.
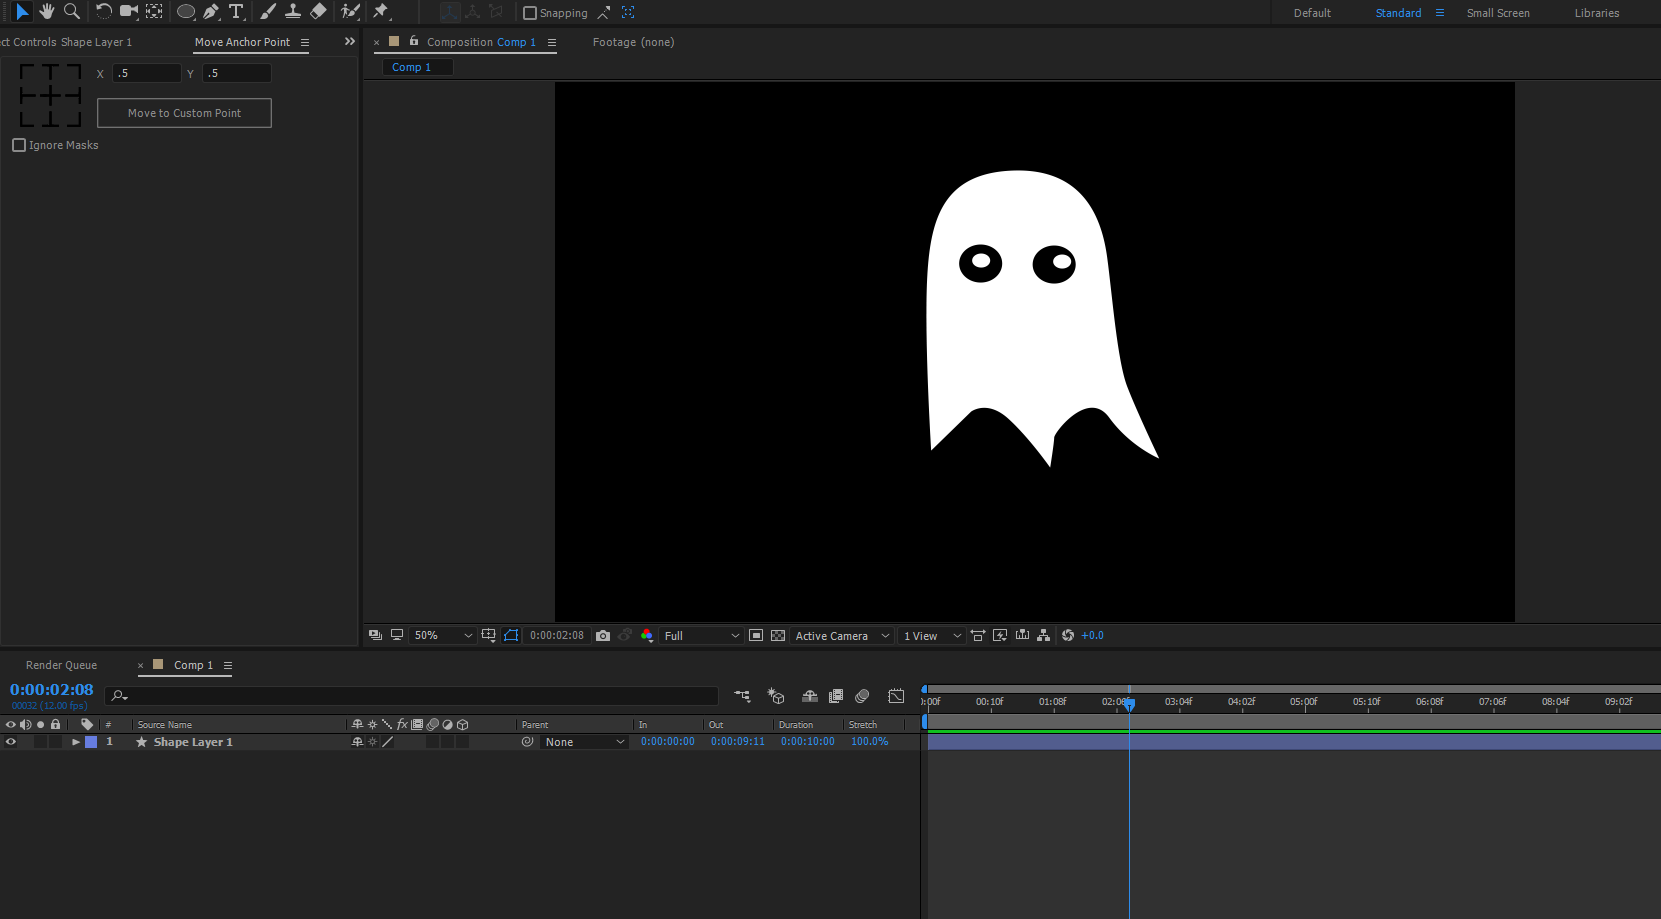
We got a ghost! This shape layer is flying around your composition, but when you hit ‘U’ hotkey to see the keyframes, there’s nothing there! Fear not. Firstly, if you see that your layer is parented to another object, it may be that it is ‘following’ another object’s movement.
Here, you can see that our shape layer is parented to a null object, which we cannot see because the ‘Shy’ switch is enabled.

No parenting going on, but still movement? Probably a script. You can hit your hotkeys for different transform tools (P, R, S, A - Position, Rotation, Scale, Anchor Point). If you see the value are red instead of the usual blue, then a script is applied.

We suggest hitting ‘U’ twice quickly to drop-down all values on your layer. This may give you a bit to scroll through, but you will be able to see whether multiple scripts are being used, and see the scripts themselves, which will be to the right and in the timeline.

Even if you identify that a script is being used, it may be difficult for you to make adjustments. If this is the case, write us about it, and we would be happy to help.